For many, the day doesn’t truly begin until that first sip of perfectly brewed coffee. Traveling shouldn’t mean sacrificing your beloved coffee ritual, but taking your coffee maker on the road or storing it for an extended period requires careful planning. Whether you’re embarking on a global adventure, moving cross-country, or simply stowing your brewer between trips, ensuring its safe passage and preservation is key. This comprehensive guide will walk you through everything you need to know about properly preparing, packing, and storing your coffee maker safely during travel in 2026, ensuring it’s ready to deliver that ideal cup wherever you are.
Understanding Your Coffee Maker for Travel
Before you pack, consider the type of coffee maker you own and its unique travel requirements. Different machines have different vulnerabilities and needs when on the move.
Types of Coffee Makers and Their Travel Considerations
- Drip Coffee Maker: These are often bulky and include a glass carafe, making them prone to breakage. Focus on securing the carafe and preventing internal components from shifting.
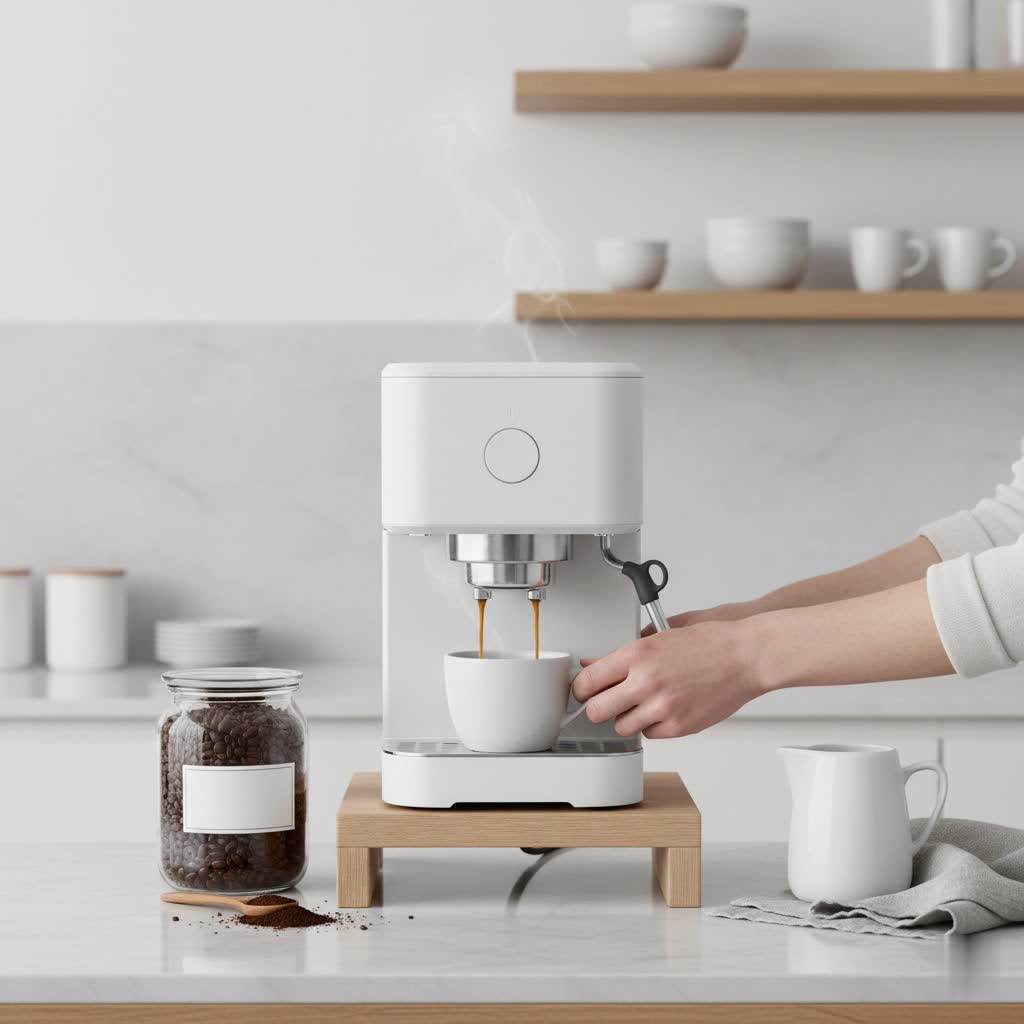
- Espresso Machine: From compact manual devices to semi-automatic models, espresso makers often have intricate parts, pressure systems, and internal boilers. Draining all water is paramount to prevent freezing or mold.
- Pod/Capsule Coffee Maker: Typically more compact and durable, but ensure no pods are left inside and the water reservoir is completely dry.
- French Press: Often features a glass beaker, requiring significant protection. Plastic or stainless steel versions are much more travel-friendly.
- Moka Pot: Robust and often made of aluminum or stainless steel, these are generally easy to travel with, but ensure all grounds are removed and it’s thoroughly dry.
|
Our Picks for the Best Coffee maker in 2026
As an Amazon Associate I earn from qualifying purchases.
|
||
| Num | Product | Action |
|---|---|---|
| 1 | BLACK+DECKER CM1160W-1 CM1160W 12-Cup Programmable Coffeemaker, White/Stainless Steel |

|
| 2 | Cuisinart Coffee Maker, 14-Cup Glass Carafe, Fully Automatic for Brew Strength Control & 1-4 Cup Setting, Stainless Steel, DCC-3200CRM, Cream. |
|
| 3 | Ninja 12-Cup Programmable Coffee Brewer, 2 Brew Styles, Adjustable Warm Plate, 60oz Water Reservoir, Delay Brew - Black/Stainless Steel |
|
| 4 | Cuisinart 14-Cup Coffee Maker, Programmable PerfecTemp Glass Carafe Coffee Machine with 1-4 Cup Setting, Brew Strength Control and Pause, Stainless Steel, DCC-3200BKSNAS, Black |
|
| 5 | Cuisinart Coffee Maker, 14-Cup Glass Carafe, Fully Automatic for Brew Strength Control & 1-4 Cup Setting, Stainless Steel, DCC-3200GMP1, Gunmetal |
|
| 6 | Cuisinart Coffee Maker, 14-Cup Glass Carafe, Fully Automatic for Brew Strength Control & 1-4 Cup Setting, Stainless Steel, DCC-3200UMB, Umber |
|
| 7 | BLACK+DECKER 12-Cup Coffee Maker with Easy On/Off Switch, Easy Pour, Non-Drip Carafe with Removable Filter Basket, Vortex Technology, Black |
|
| 8 | Cuisinart 14-Cup Coffee Maker, Programmable PerfecTemp Glass Carafe Coffee Machine with 1-4 Cup Setting, Brew Strength Control and Pause, Stainless Steel, DCC-3200NAS |
|
| 9 | BLACK+DECKER 12-Cup Digital Coffee Maker, Programmable, Washable Basket Filter, Sneak-A-Cup, Auto Brew, Water Window, Keep Hot Plate, Black |
|
| 10 | Cuisinart 14-Cup Coffee Maker, Programmable PerfecTemp Glass Carafe Coffee Machine with 1-4 Cup Setting, Brew Strength Control and Brew Pause, Stainless Steel, DCC-3200WNAS, White |
|
Essential Pre-Travel Preparation for Any Coffee Maker
Regardless of the type, a few universal steps apply before any coffee maker hits the road or goes into storage. The goal is to prevent damage, contamination, and unpleasant surprises upon arrival. This includes a deep clean, complete drying, and thoughtful disassembly of any removable parts. Skipping these steps can lead to anything from a moldy surprise to irreparable damage to your machine.
Step-by-Step Guide to Cleaning and Drying Your Coffee Maker
The foundation of safe travel storage begins with meticulous cleaning and drying. This is arguably the most critical step.
Thorough Cleaning for Hygiene and Longevity
Start by unplugging your coffee maker and removing any lingering coffee grounds, filters, or pods. For drip machines, run a full brewing cycle with a 50/50 mixture of white vinegar and water. This potent solution helps dissolve mineral deposits and coffee oil residue that can accumulate over time. Follow this with two to three cycles of plain clean water to thoroughly rinse out any vinegar smell or taste. For espresso machines, clean the group head, steam wand, portafilter, and drip tray with appropriate cleaning solutions. For all machines, wipe down the exterior with a soft cloth and a mild cleaner, paying special attention to crevices where residue might hide.
The Importance of Complete Drying
Moisture is the enemy of stored appliances, leading to mold, mildew, unpleasant odors, and even corrosion of internal components. After cleaning, disassemble all detachable parts like the water reservoir, carafe, filter basket, and drip tray. Allow these components to air-dry completely, ideally for several hours or even overnight, before packing them away. Leave any lids or covers open to facilitate air circulation within the main unit. Avoid sealing damp parts in plastic bags, as this creates a perfect environment for bacterial growth.
Descaling Before Extended Travel
If it’s been a while since your last descaling, or if you’re planning extended storage, now is the ideal time to perform a thorough descaling cycle. Mineral deposits from hard water can solidify and block internal pathways when a machine sits unused, causing performance issues or damage later. After descaling, always run multiple cycles of fresh water to ensure no descaling solution remains.
Disassembly and Protecting Fragile Components
Once clean and dry, the next phase is to prepare your coffee maker for the physical stresses of travel.
Detaching Removable Parts
Carefully remove all detachable parts. This includes the water tank, drip tray, filter basket, carafe, lid, and any other components that can be separated from the main unit. This not only makes packing easier but also protects these individual pieces from impact during transit.
Securing Glass and Delicate Elements
Glass carafes, ceramic pour-over cones, or delicate plastic parts are particularly vulnerable. Wrap each fragile item individually with ample bubble wrap, thick packing paper, or even soft towels. Secure the wrapping with tape to prevent it from unraveling. For very delicate items, consider placing them in a smaller, padded box within the main packing container.
Managing Cords and Small Accessories
Coil the power cord neatly and secure it with a twist tie or Velcro strap to prevent tangling or snagging. Place any small accessories like measuring scoops, reusable filters, or frothing attachments in a small, labeled resealable bag. This keeps everything organized and prevents tiny items from getting lost amidst the packing materials.
Choosing the Right Packing Materials and Containers
The type of packaging significantly influences how well your coffee maker survives its journey.
Utilizing Original Packaging vs. Travel Cases
If you still have the original manufacturer’s box and internal packing materials, these are often the best choice. They are designed specifically to cradle your machine and protect it during shipping. If not, choose a sturdy, double-walled corrugated cardboard box that is slightly larger than your coffee maker, allowing for at least two inches of padding on all sides. For frequent travelers, specialized travel bags or hard cases designed for coffee equipment offer superior protection and convenience.
The Power of Proper Cushioning
Line the bottom of your chosen box with a generous layer of cushioning material—packing peanuts, crumpled packing paper, or bubble wrap. Place the main coffee maker unit upright in the center of the box, then arrange all the individually wrapped, detachable parts around it. Fill any remaining gaps with additional cushioning to ensure nothing shifts during transit. The goal is a snug fit where the machine cannot move when the box is gently shaken.
Double Boxing for Maximum Protection
For valuable, fragile, or heavy coffee makers, especially during long-distance moves or shipping, double boxing provides an extra layer of security. Pack your coffee maker in its primary box with ample cushioning, then place that box into a second, larger shipping box, filling the space between the two boxes with more packing peanuts or crumpled paper. This creates a shock-absorbing buffer that can withstand rough handling.
Travel-Specific Storage Considerations (2026 Insights)
Traveling in 2026 comes with its own set of considerations, from airline regulations to adapting to different environments.
Air Travel Regulations (TSA Guidelines)
When flying with your coffee maker, particularly in 2026, it’s crucial to adhere to current Transportation Security Administration (TSA) guidelines. Always empty all water and coffee grounds from your machine before passing through security, whether it’s in your carry-on or checked luggage. For machines with blade grinders or large lithium batteries (common in some advanced all-in-one espresso units), always double-check the latest TSA regulations, as some batteries may need to be carried on board rather than checked. Choosing a compact, lightweight coffee maker with no glass parts is ideal for air travel.
Road Trips and Camping
For road trips or camping adventures, durability is key. Opt for coffee makers made from robust materials like stainless steel or BPA-free plastic. Portable cases with padded compartments are excellent for keeping your brewer secure in a vehicle. If camping off-grid, consider models compatible with portable stoves or those that heat water directly. Ensure your machine is stored in a stable position to prevent it from tipping over during sudden stops or turns.
Specialized Travel Bags and Accessories
The market for travel coffee gear has expanded significantly. Many brands now offer dedicated travel bags, pouches, and hard cases for popular portable coffee makers like the AeroPress Go, portable espresso makers (e.g., Wacaco Nanopresso), and pour-over kits. These are designed with custom-fit compartments and durable exteriors to protect your equipment and keep all accessories organized. Investing in such a specialized case can greatly simplify the packing process and provide peace of mind.
Long-Term Storage During Extended Travel Breaks
If your coffee maker will be stored for several months or longer, additional steps are necessary to ensure its pristine condition.
Ideal Storage Environment Conditions
Choose a cool, dry place away from direct sunlight, heat sources, and fluctuating temperatures. Avoid damp environments like basements, laundry rooms, or unventilated cupboards, as humidity fosters mold growth and can corrode metal parts. A stable, temperate environment is best.
Preventing Mold, Rust, and Mineral Buildup
The thorough cleaning and drying steps are particularly critical for long-term storage. Ensure every drop of water is removed. For espresso machines with boilers, consider draining the boiler completely according to the manufacturer’s instructions to prevent any residual water from freezing or promoting rust. For all machines, a final wipe-down with a food-safe disinfectant can add an extra layer of protection against microbial growth.
Winterizing Your Machine
If there’s any risk of temperatures dropping to freezing where your coffee maker is stored, especially for machines with internal water lines or boilers, “winterizing” is essential. This involves completely draining all water from the system to prevent freezing, which can cause internal components and pipes to crack or burst. Consult your machine’s manual for specific instructions on how to drain it thoroughly. If draining isn’t possible, ensure the machine is stored in a heated environment.
Troubleshooting Common Travel Storage Issues
Even with the best preparation, issues can sometimes arise. Knowing how to address them can save you hassle.
Dealing with Residual Odors
If your coffee maker has developed a stale or musty smell after storage, it’s likely due to residual moisture or coffee oils. Run several cycles with a strong vinegar-water solution, followed by multiple fresh water rinses. Disassemble and thoroughly clean all removable parts again, allowing them to air dry completely. For stubborn odors, a paste of baking soda and water applied to affected non-electrical surfaces can help, followed by a thorough rinse.
Addressing Minor Damage Post-Travel
Small scratches or scuffs can often be buffed out with a soft cloth and a gentle plastic polish or automotive wax, depending on the material. For minor dents on metal components, gentle reshaping might be possible, but avoid forcing anything that could cause further damage. If a part breaks, check the manufacturer’s website for replacement parts or consider professional repair.
Reassembling and First Use After Storage
When retrieving your coffee maker from storage, take your time reassembling all parts. Before brewing your first cup, run one or two cycles with plain clean water through the machine. This flushes out any dust or lingering storage odors and primes the system for use. Inspect all seals and connections to ensure they are secure and free from leaks.
Conclusion
Traveling with your Coffee Maker or storing it safely doesn’t have to be a daunting task. By meticulously cleaning, thoroughly drying, carefully disassembling, and properly packing your machine with adequate cushioning, you can ensure it remains in pristine condition, ready to brew that perfect cup wherever your adventures take you in 2026. From navigating TSA regulations to choosing the right travel cases, a little preparation goes a long way in preserving your coffee ritual.
What’s your most trusted travel companion for brewing on the go, and what’s your secret to keeping it safe?